Entering an Authorization
A step-by-step walkthrough for submitting a complete authorization request through the EZ-NET portal.
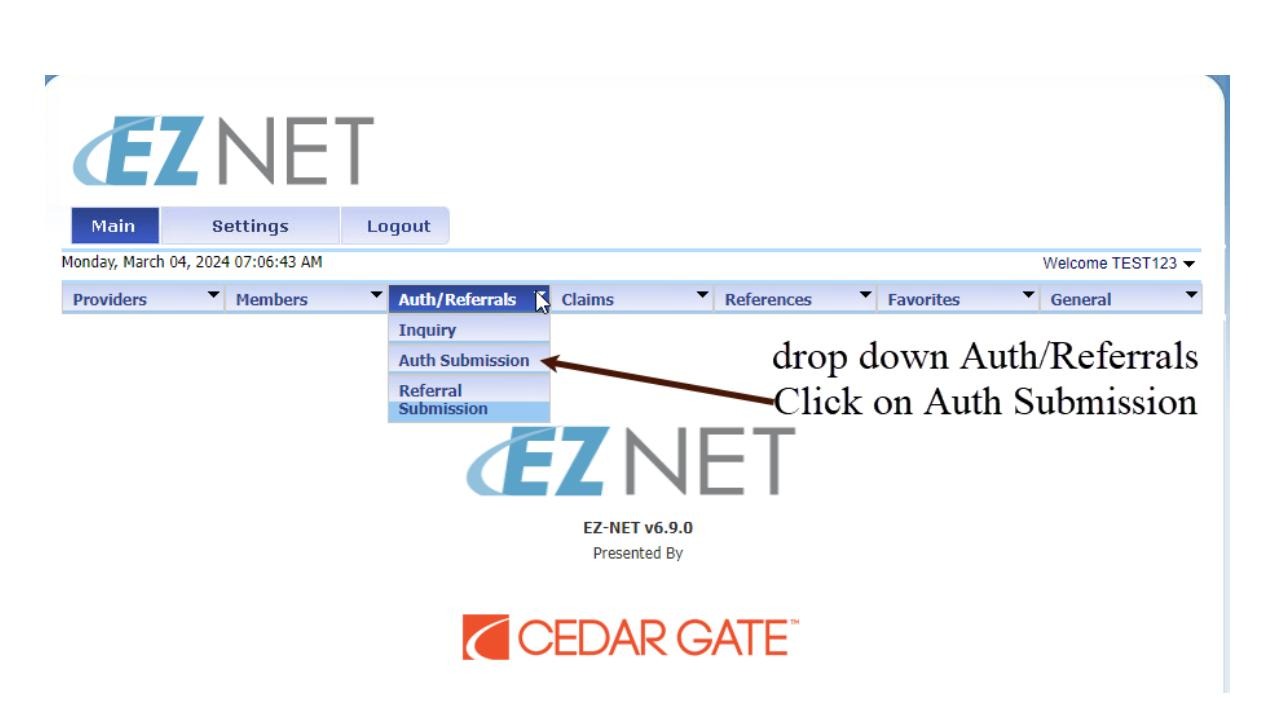
18 StepsNavigate to Auth Submission
From the main menu, open the Auth/Referrals dropdown and select Auth Submission.
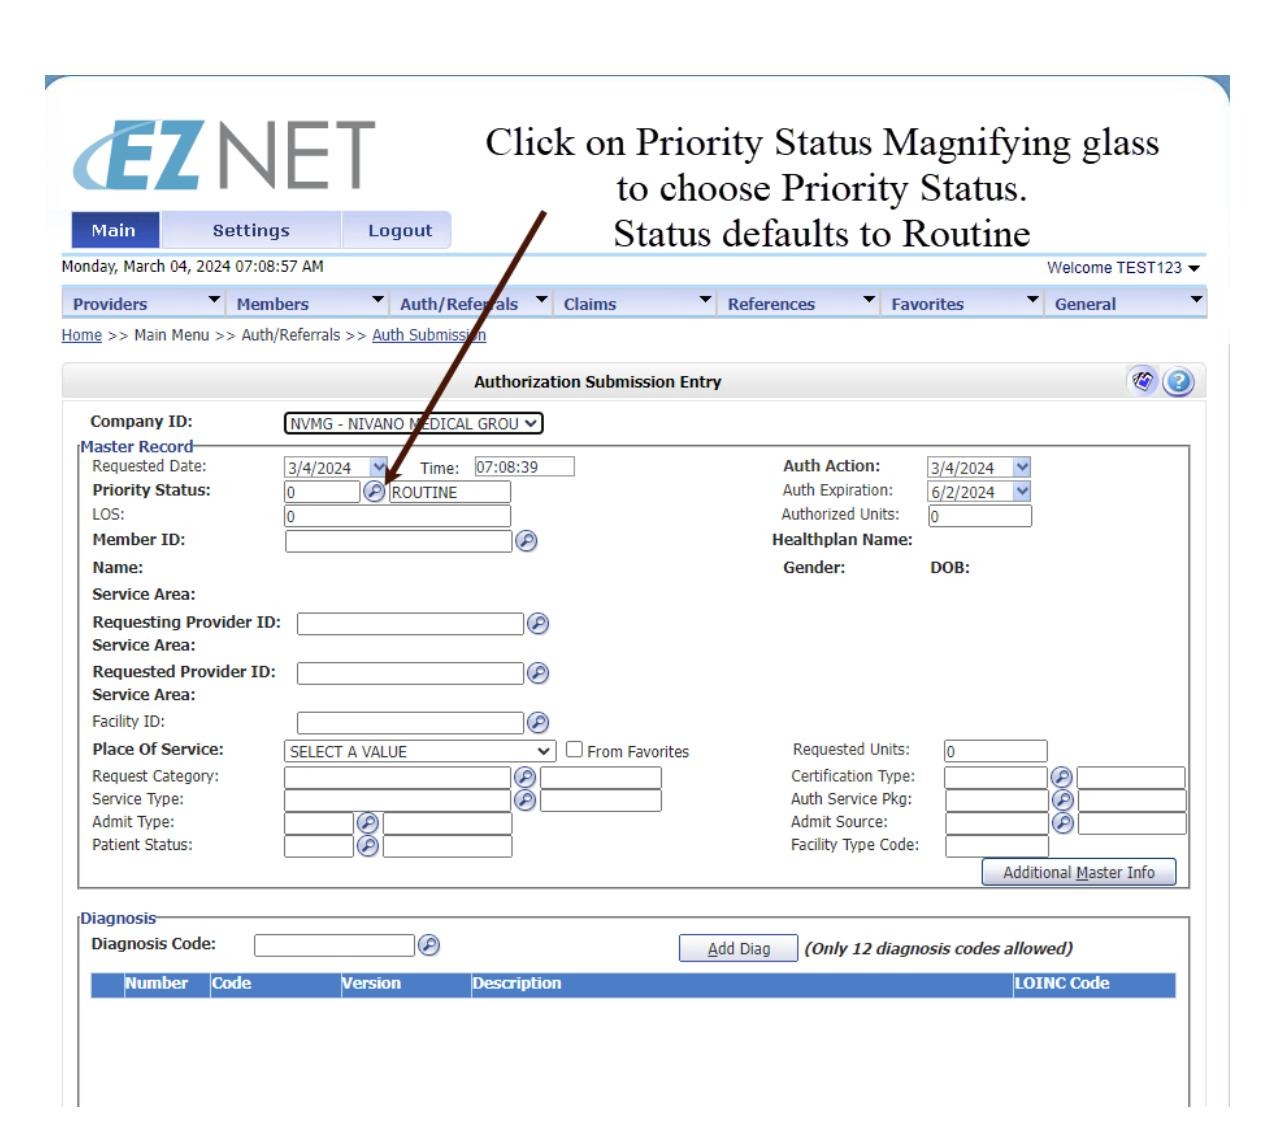
Set Priority Status
Click the magnifying glass next to Priority Status to choose the appropriate urgency level. The field defaults to Routine.
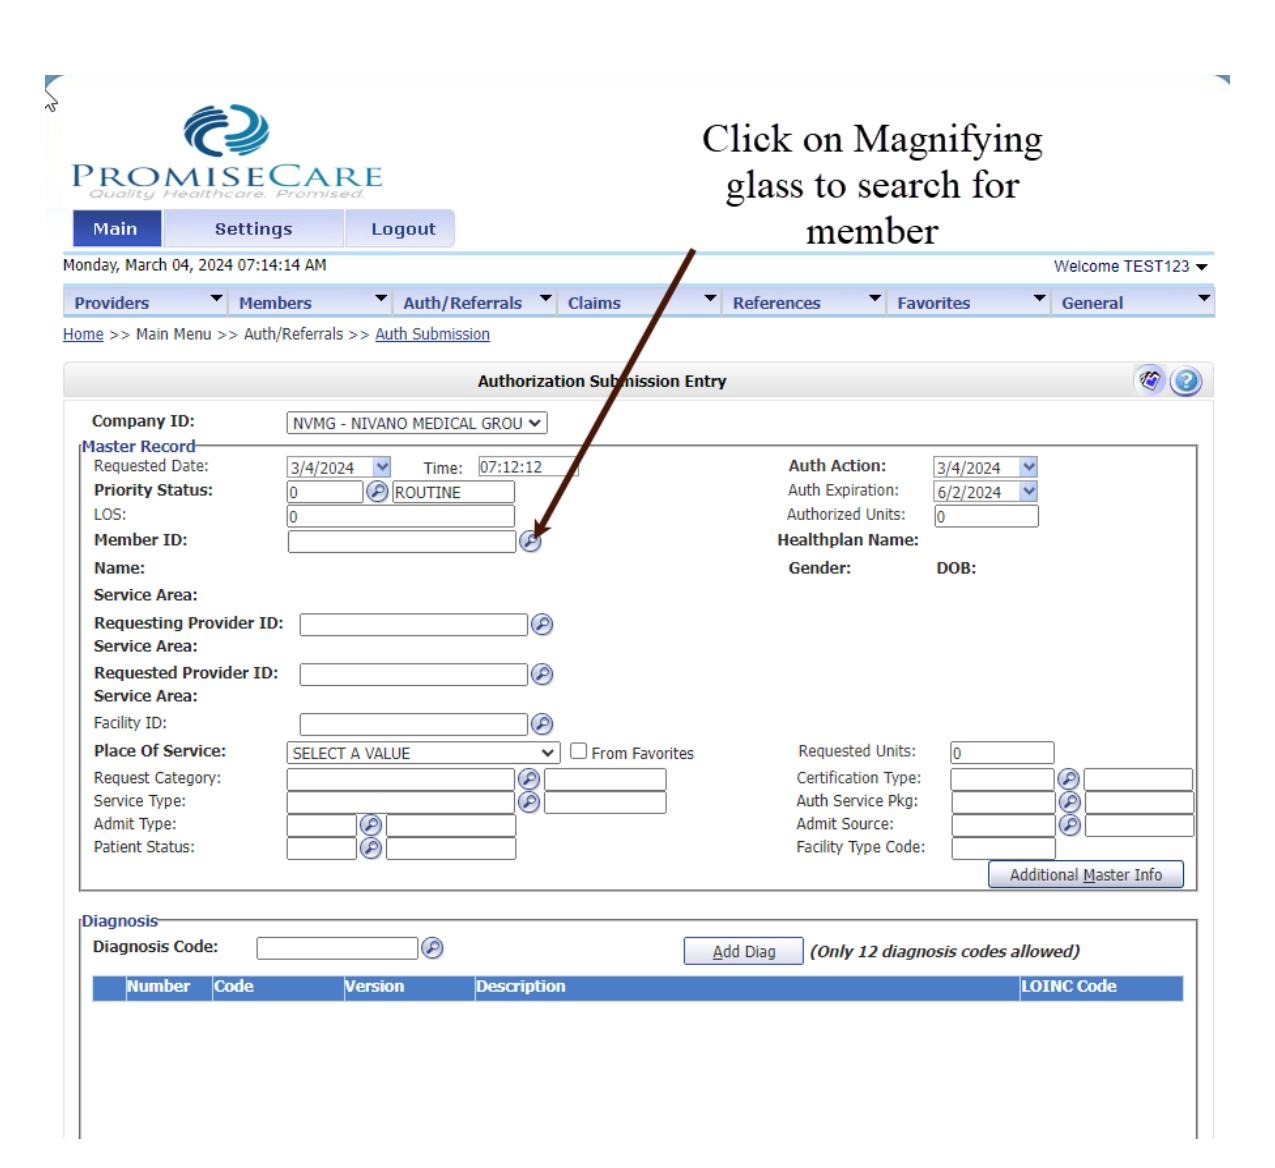
Search for Member
Click the magnifying glass next to Member ID to open the Member Search dialog.
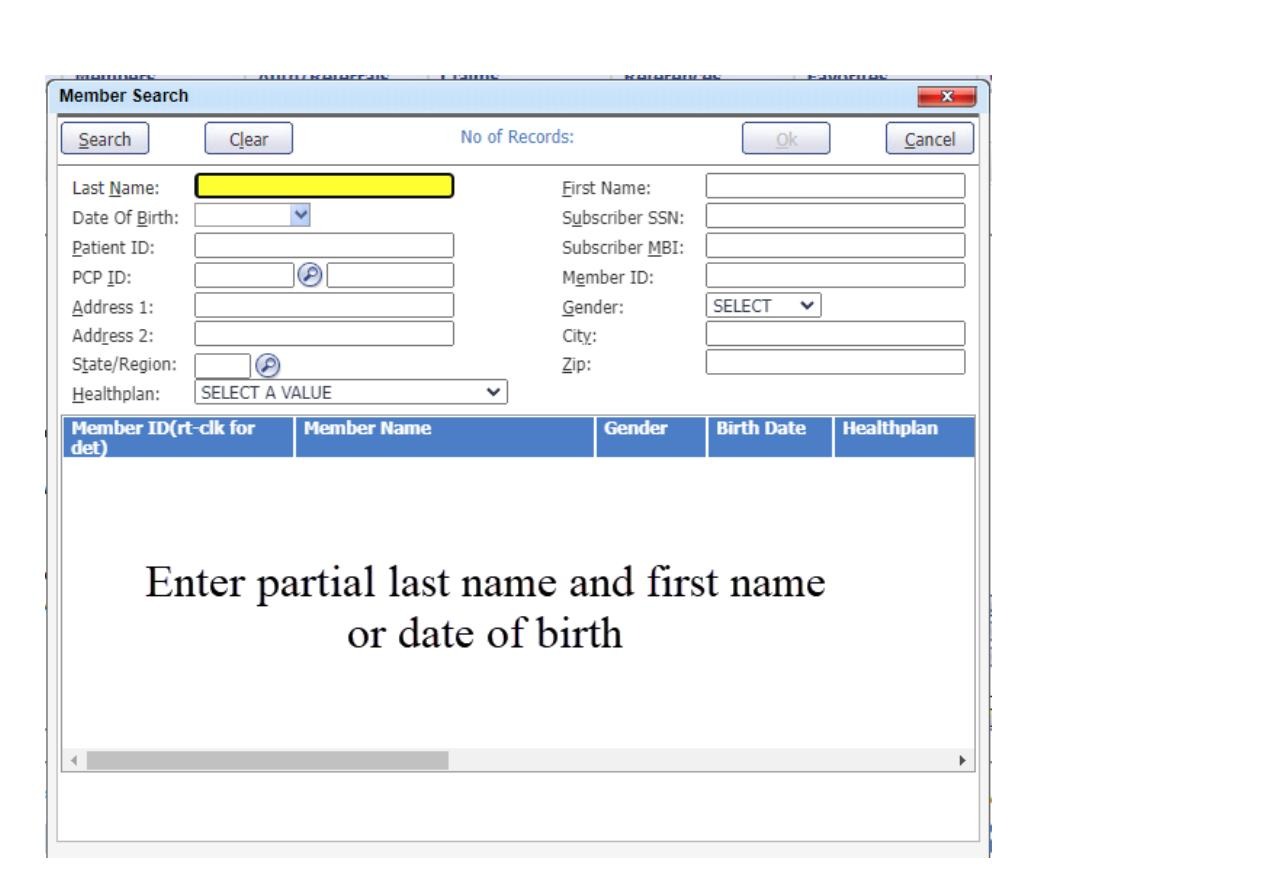
Enter Member Search Criteria
Enter a partial last name and first name, or a date of birth, then click Search to locate the member.
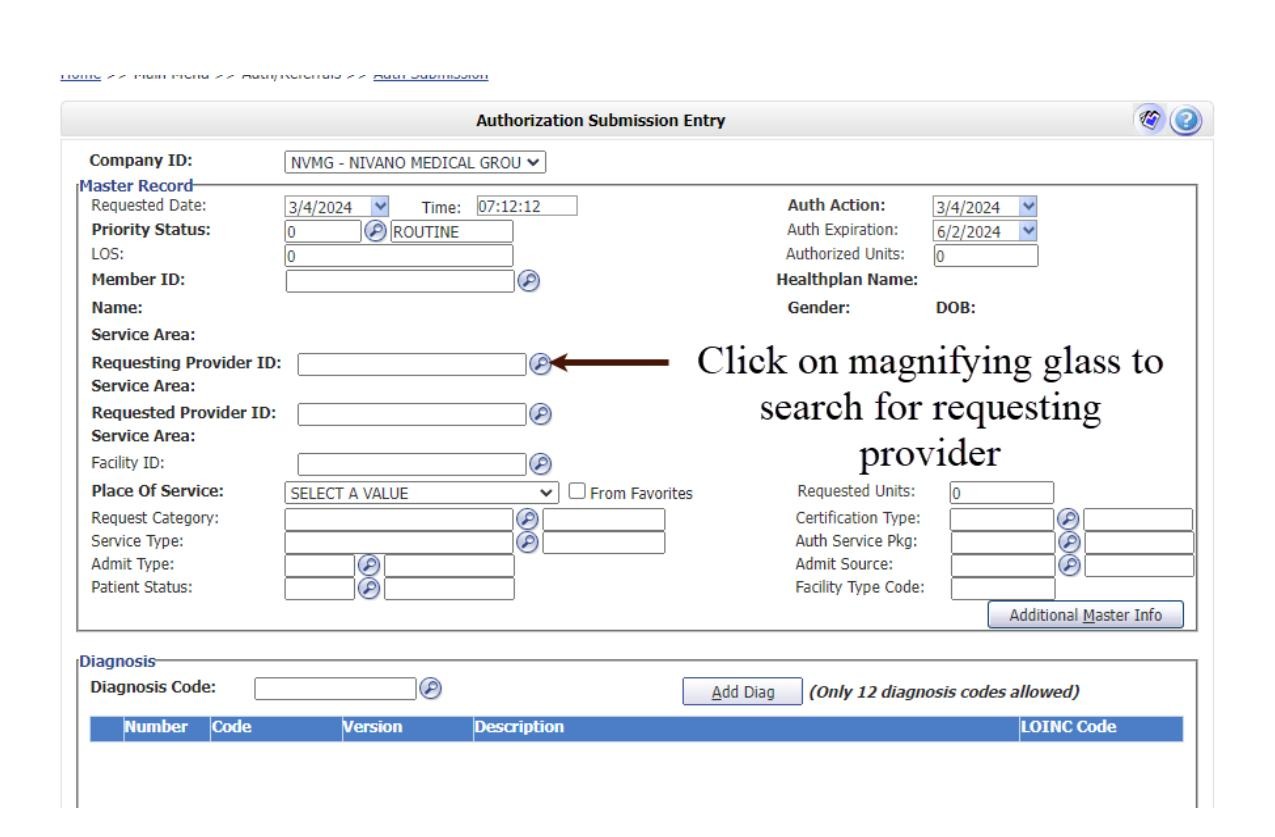
Search for Requesting Provider
Click the magnifying glass next to Requesting Provider ID to search for the provider submitting the authorization.
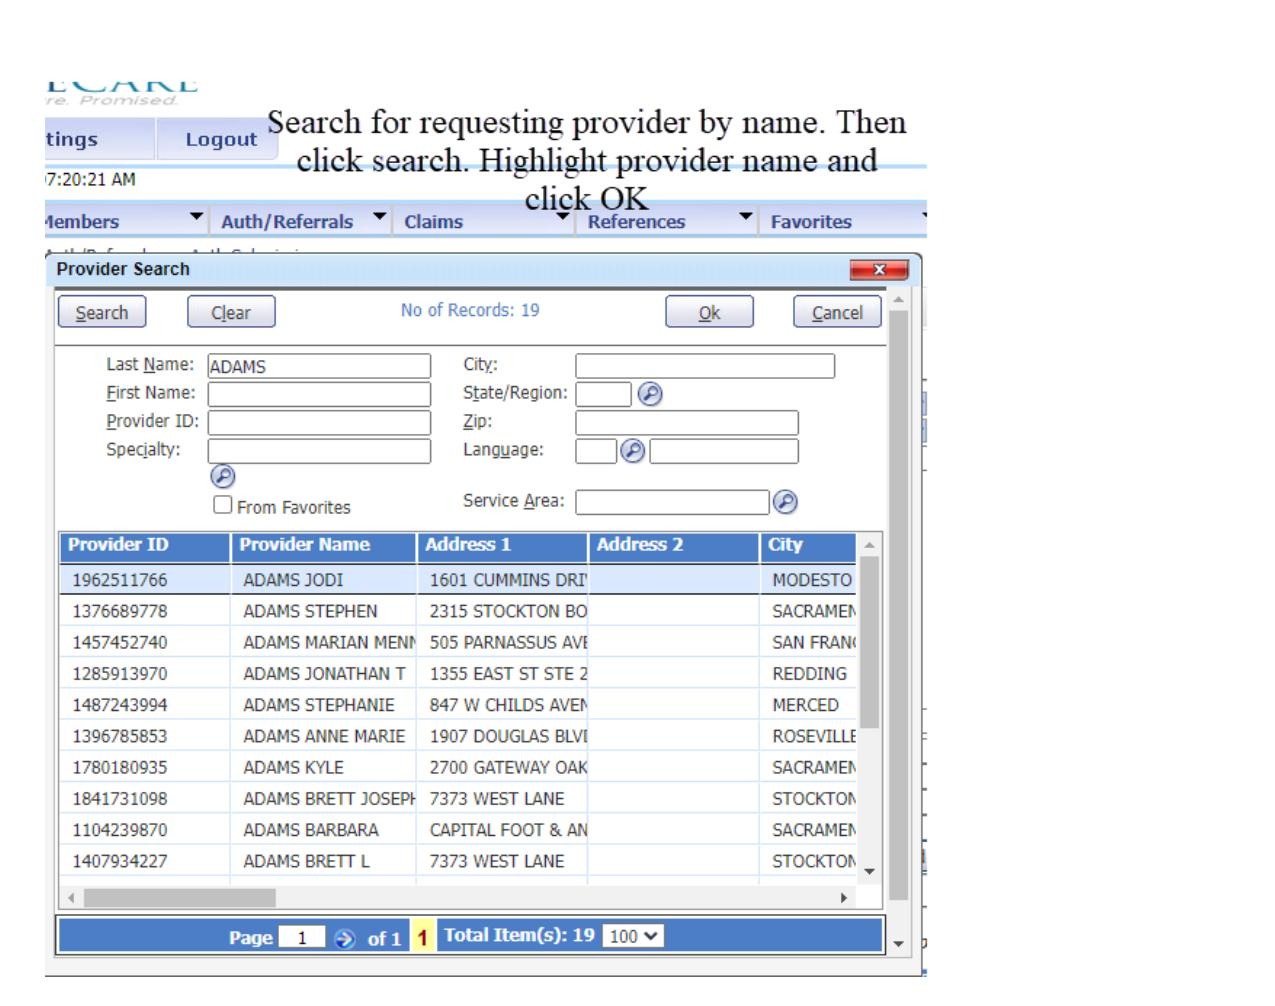
Select Requesting Provider
Search by provider last name, click Search, highlight the correct provider from the results, then click OK.
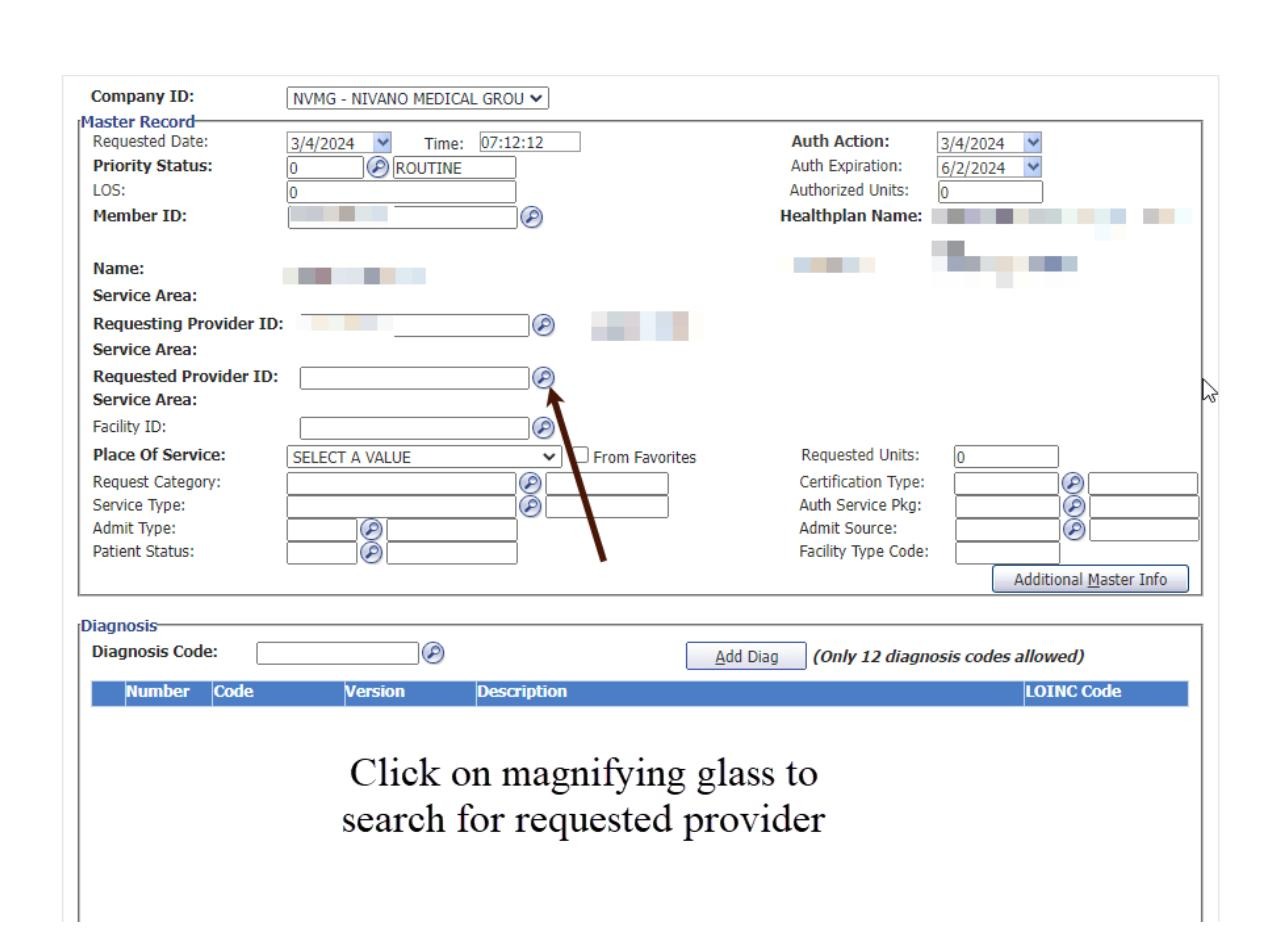
Search for Requested Provider
Click the magnifying glass next to Requested Provider ID to search for the specialist or facility being referred to.
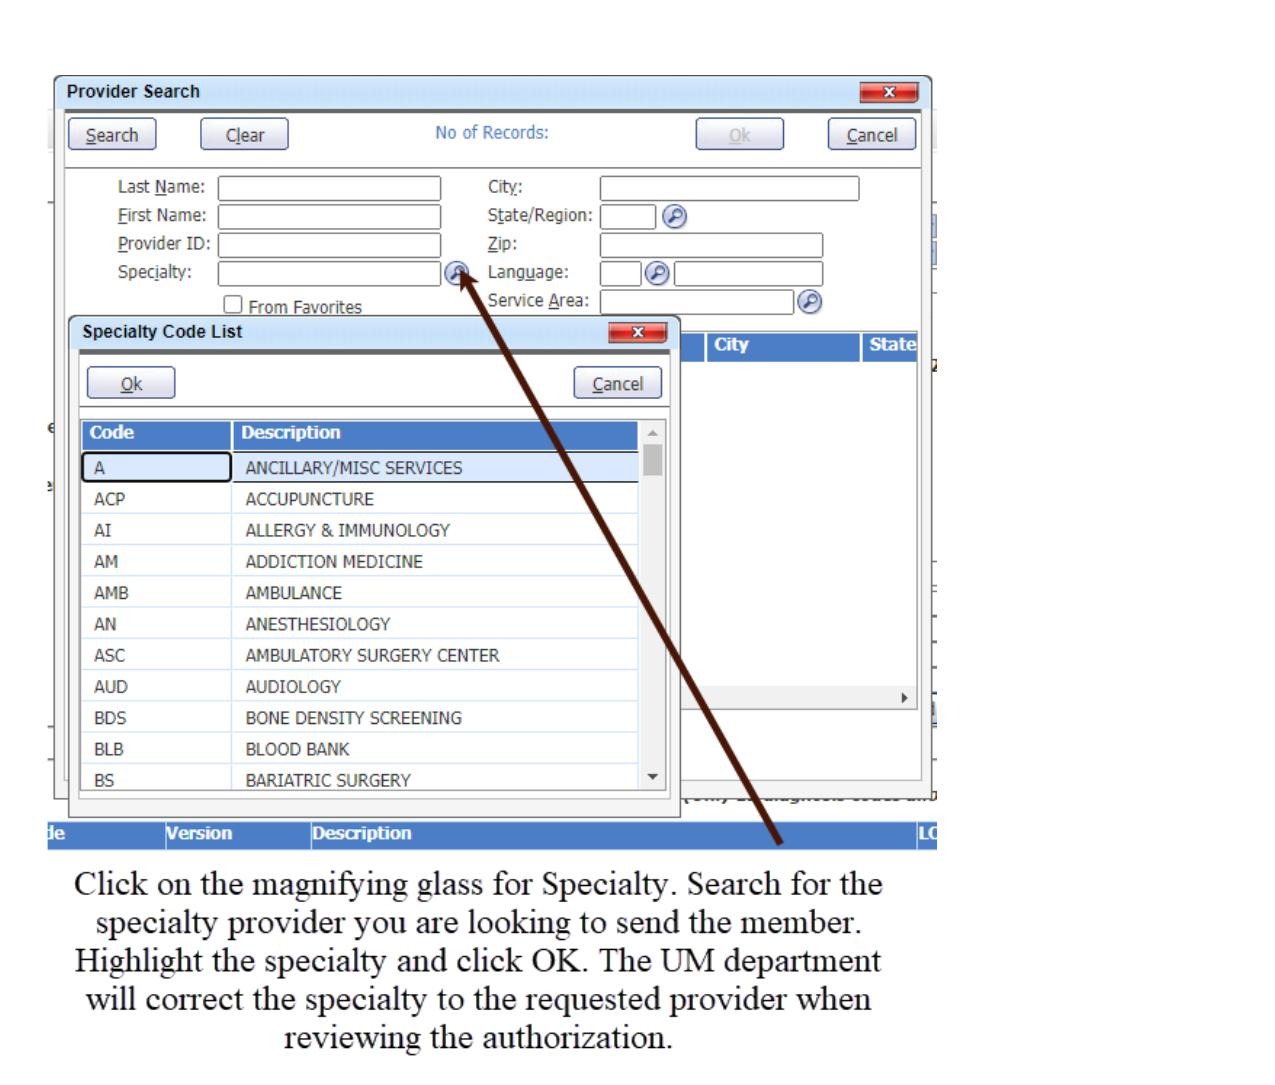
Select Specialty
Click the magnifying glass for Specialty to open the Specialty Code List. Select the appropriate specialty and click OK.
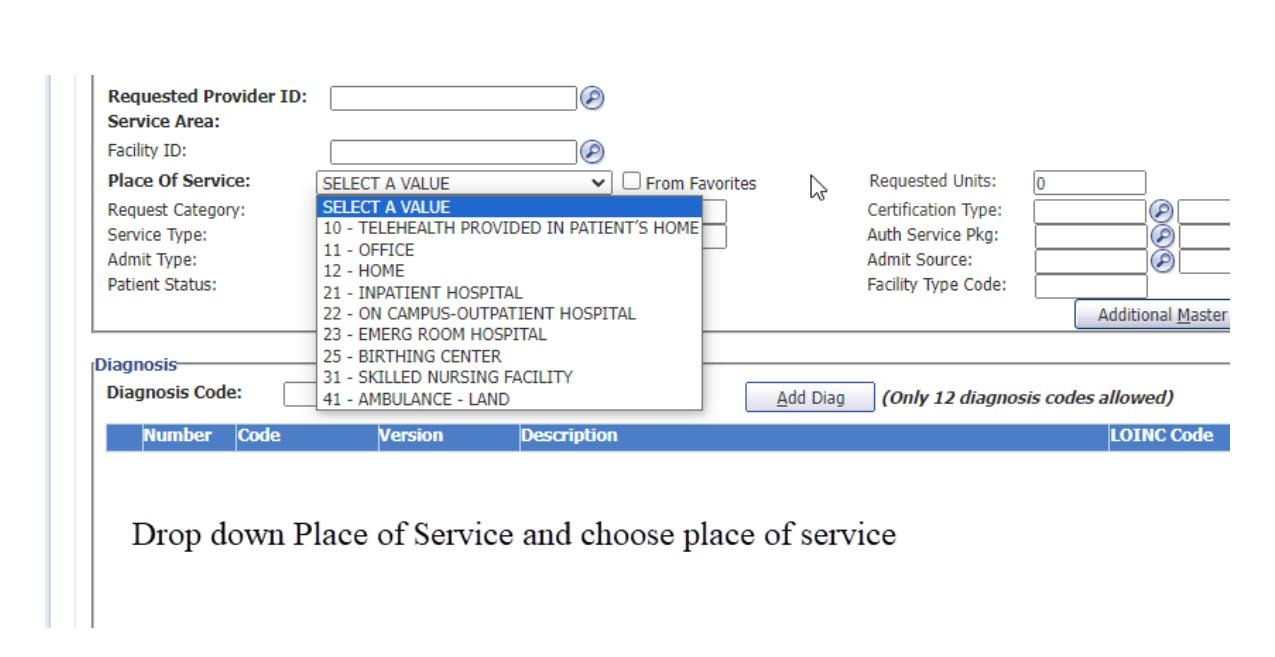
Select Place of Service
Use the Place of Service dropdown to select the appropriate service location (e.g., Office, Inpatient Hospital, Telehealth).
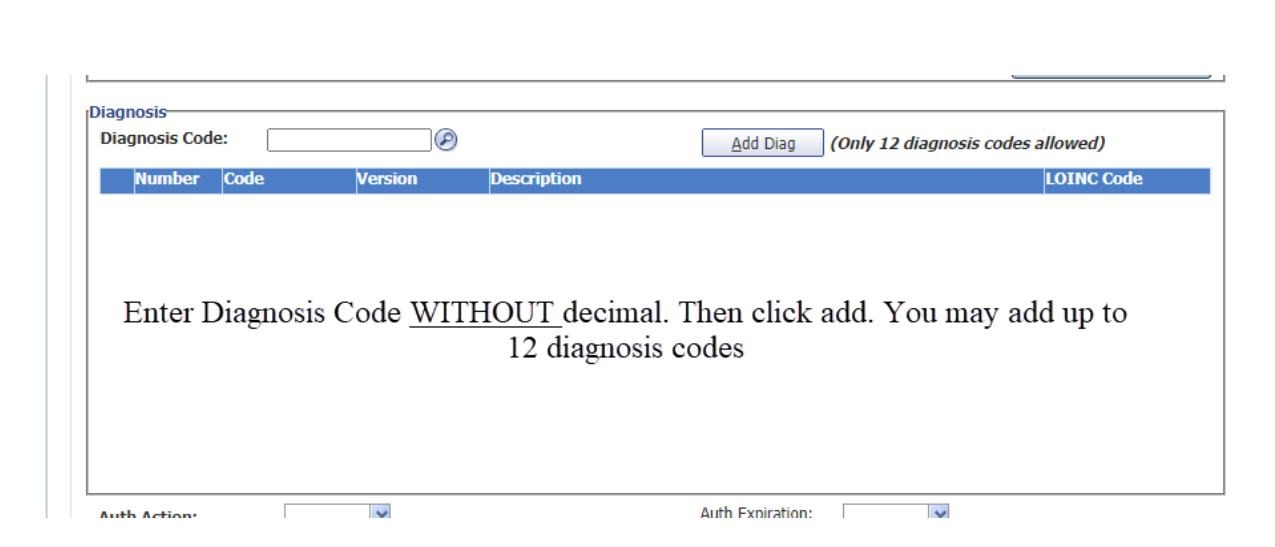
Enter Diagnosis Codes
Type the diagnosis code without a decimal point and click Add Diag. You may add up to 12 diagnosis codes per authorization.
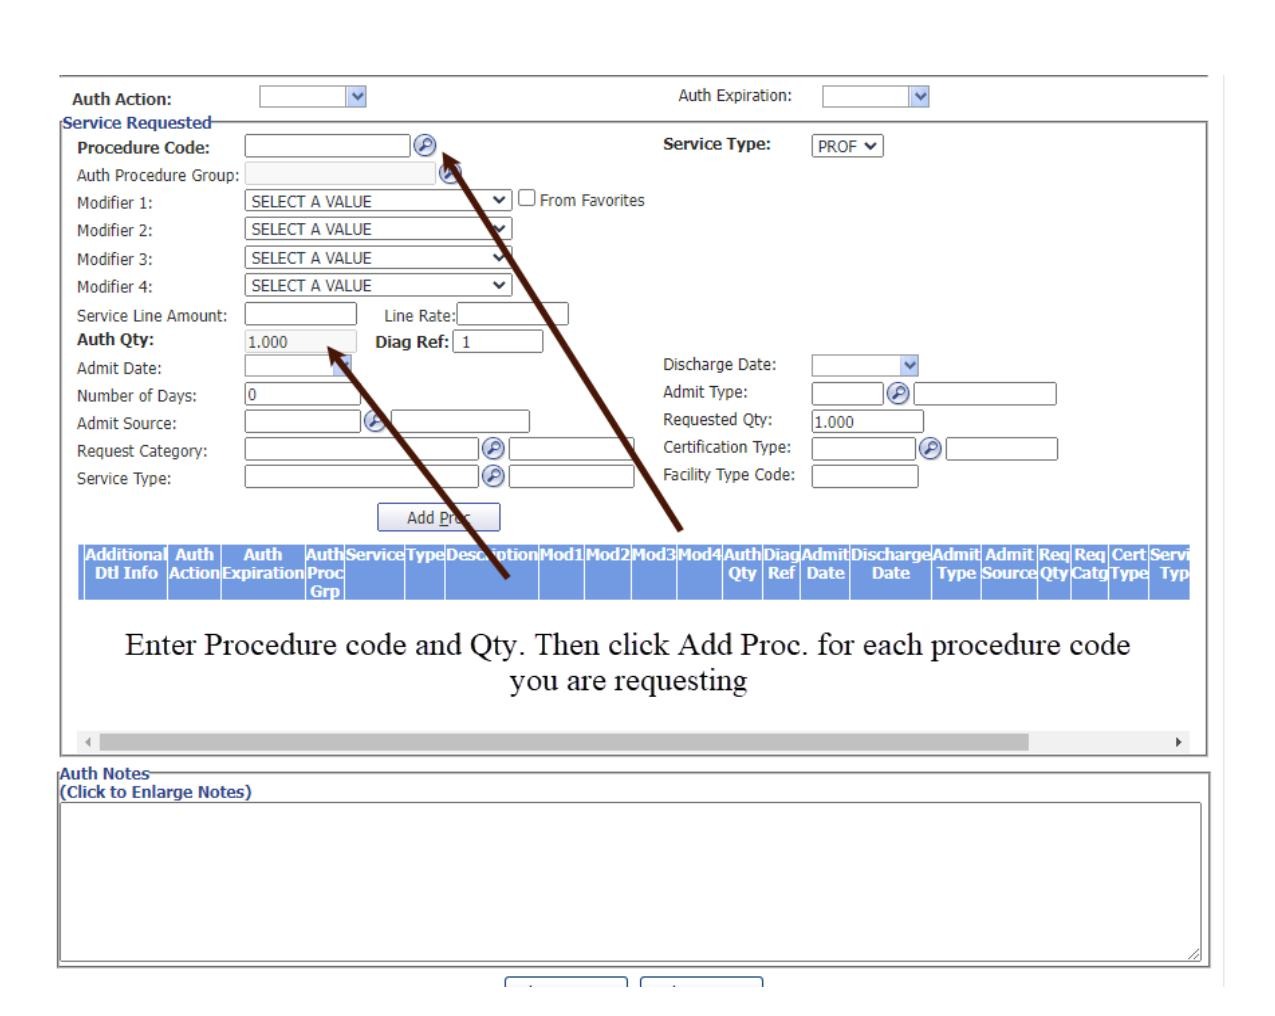
Enter Procedure Codes
Enter the procedure code and quantity, then click Add Proc. Repeat this step for each procedure code being requested.
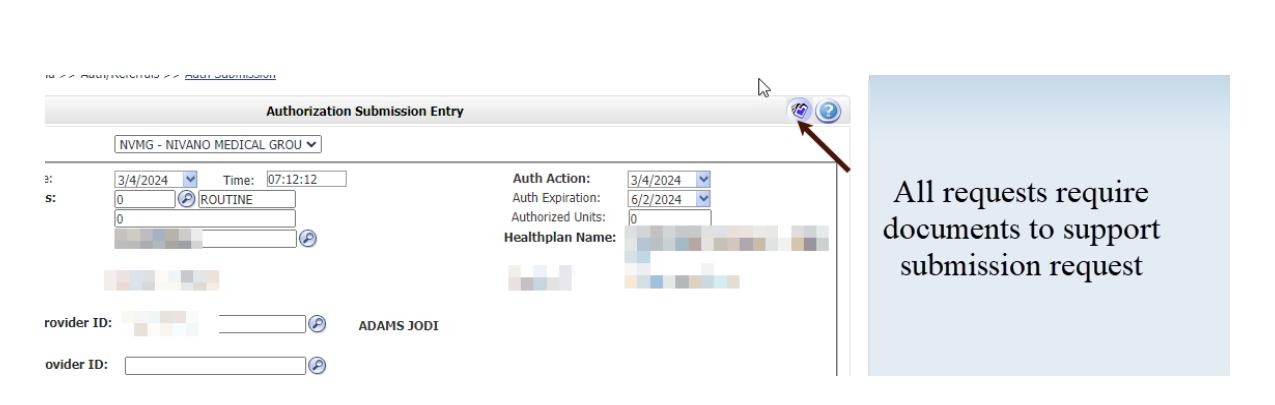
Attach Supporting Documents
All authorization requests require supporting clinical documentation. Click the attachment icon to open Document Management.
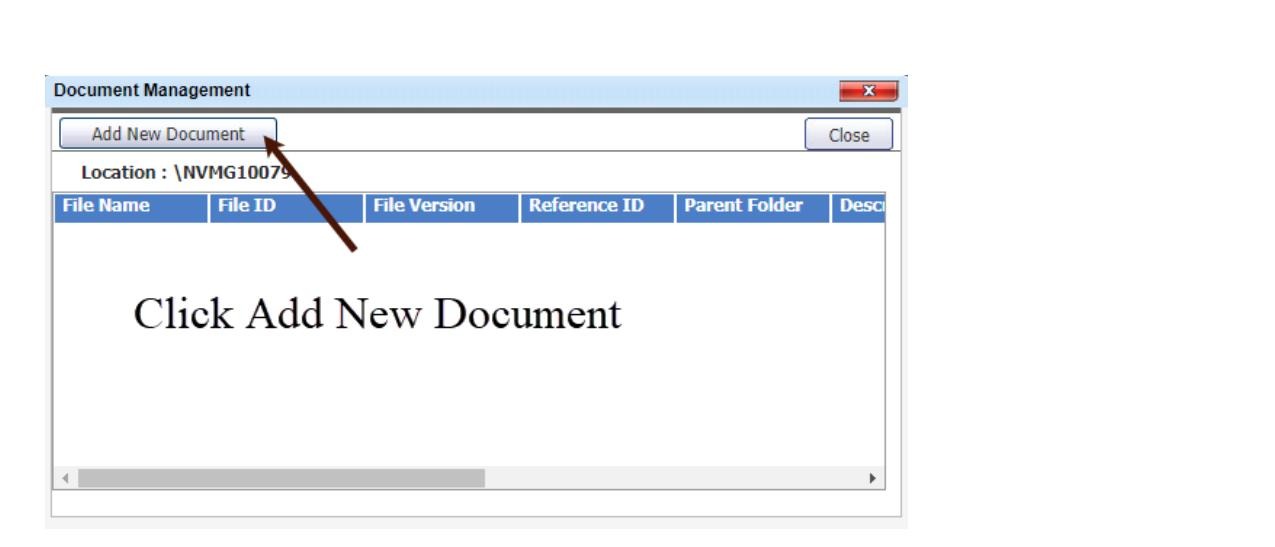
Add New Document
In the Document Management window, click Add New Document to begin the file upload process.
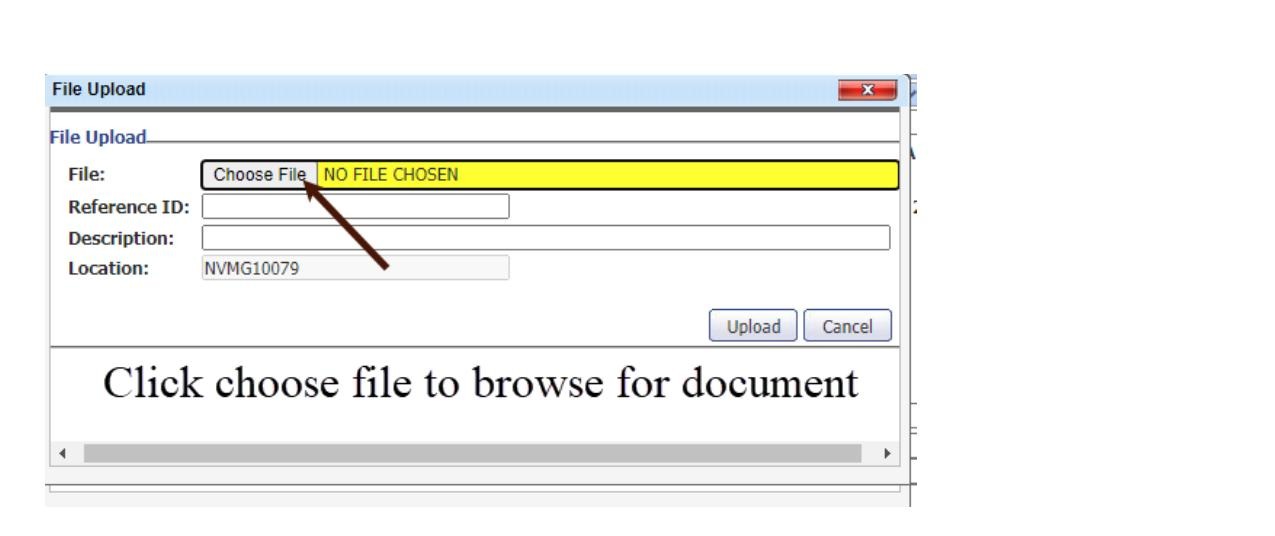
Choose File to Upload
Click Choose File to browse your computer and select the supporting document you want to attach.
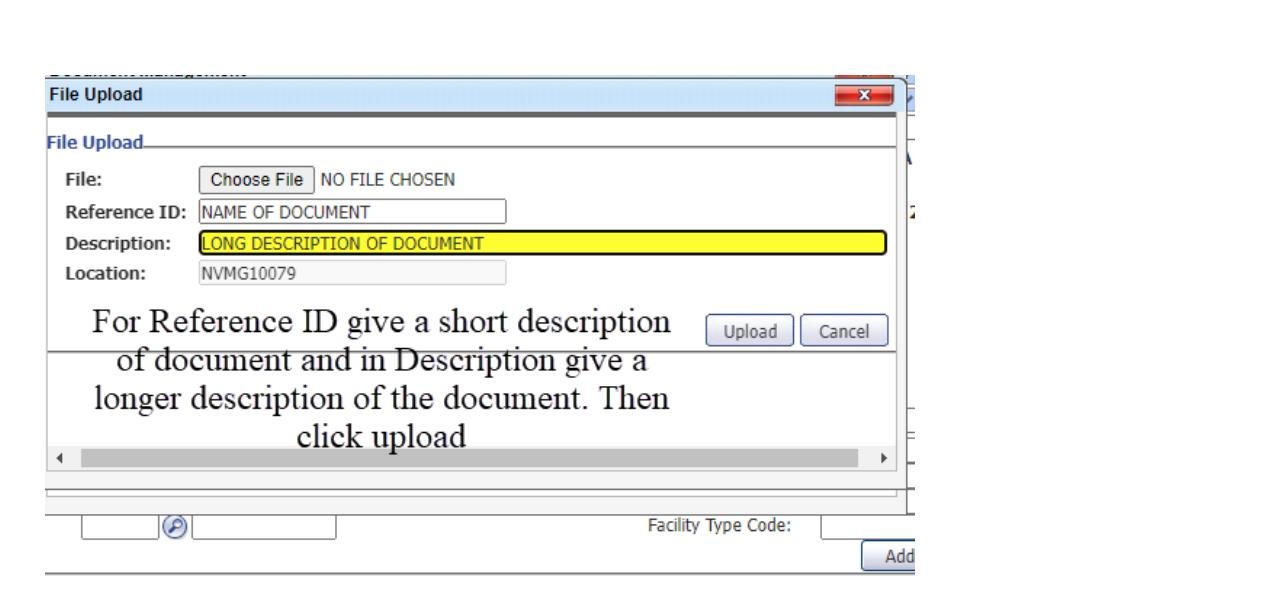
Complete Upload Details
Enter a short name in the Reference ID field and a longer description in the Description field, then click Upload.
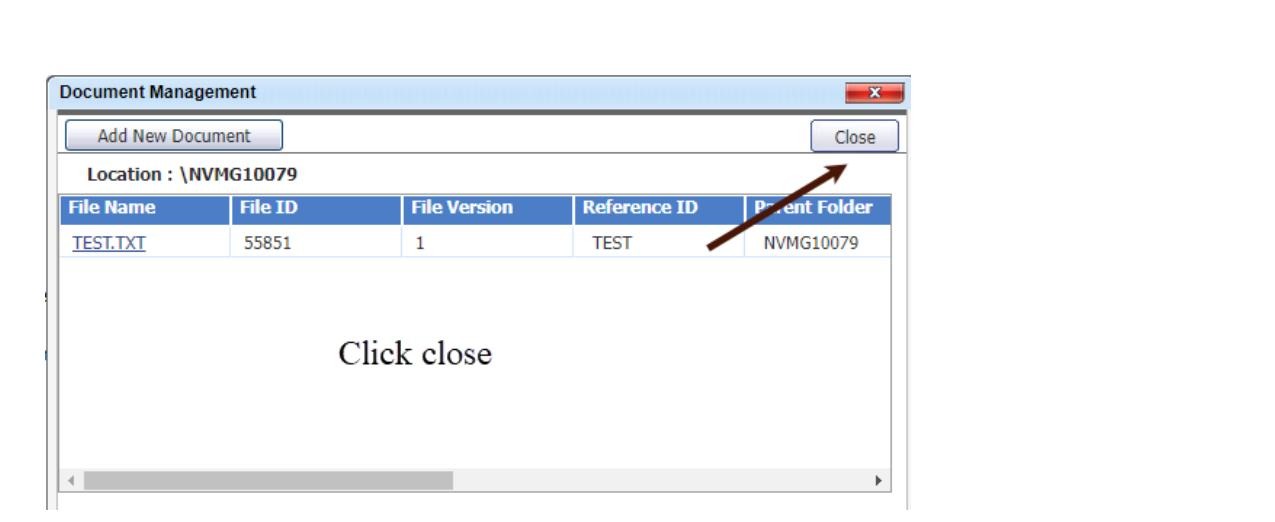
Close Document Manager
Once the document appears in the file list confirming a successful upload, click Close to return to the auth form.
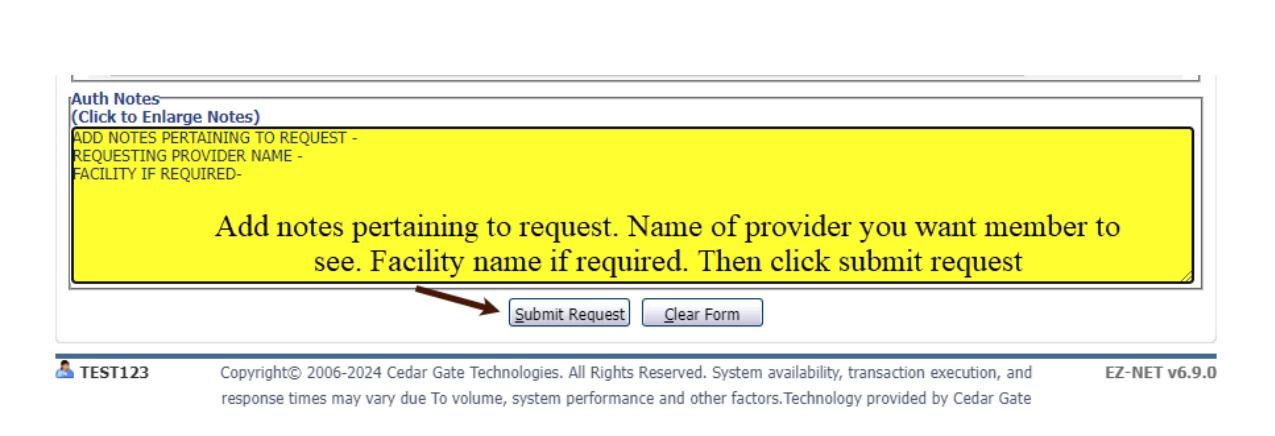
Add Notes and Submit
In the Auth Notes section, add any relevant clinical notes, the name of the provider you want the member to see, and the facility name if required. Then click Submit Request.
Submission Confirmed
A confirmation screen will display your tracking number and performing physician details. Your authorization has been successfully submitted into EZ-CAP. Record your tracking number for future reference.